Hey, loungers, Kolz here.
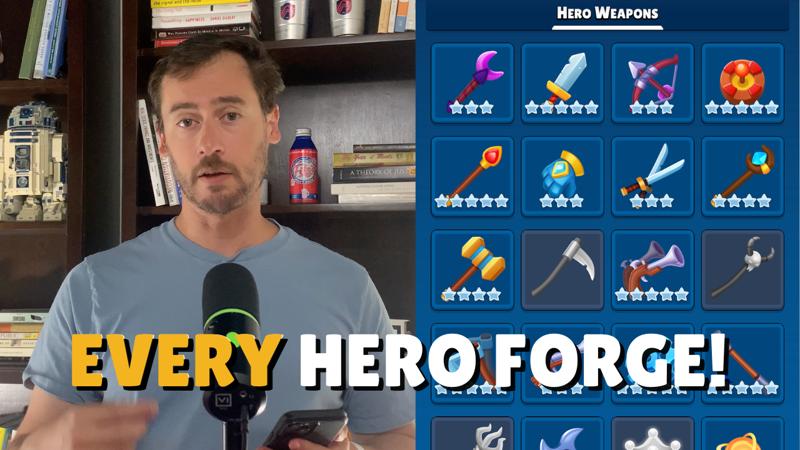
Today, I'm gonna go through the forges for all the special weapons in Heroes vs. Hordes.
My goal with these is always to give you an understanding of what I think the best option for each piece of gear, but let you make your own decisions in your own game state.
There are three typical game modes you're playing for:
- There's normal mode and hard mode, where you just want to do as much damage as you can.
- And then there's something like Boss Brawl and Hero Clash where, like, you want to hit an elite or very small number of horde for as much damage as you can.
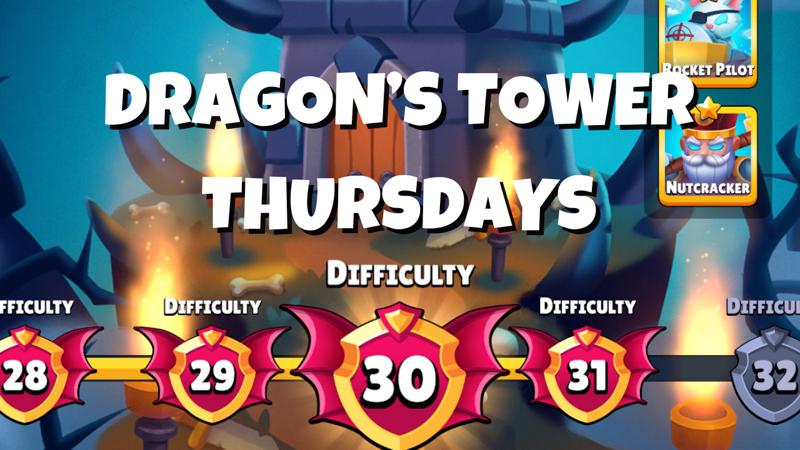
- The third one is Nightmare Mode or Dragon's Tower, where you want to increase the amount of destruction in your kit in order just to survive longer.
You can choose forges based on those three scenarios.
All right, so let's hop into it.


Special Weapons Video Guide

Special Weapons Strategy
Dagger of Dawn
Because Dagger of Dawn is such a strong weapon, a lot of heroes will use this as their source of burn later in the game. At level 1, you have Thunderthrust or Eternal Flame.
At level 2, you can get cooldown or more damage to burning enemies. My general thought is you take cooldown early in the game, but once you hit the caps, you no longer need it, and you can switch over to the increased damage to burning.
And then at level 5, you either get projectile speed or damage to burning enemies. This is probably a wash. Projectile speed will have it spin around the map faster, and more damage is more damage, because in theory, everything should be burning from Dagger of Dawn.
Dagger of Dusk
At level one, you either get more damage to elite enemies or more cooldown. Again, we're going elite enemies here unless you need the cooldown early in the game.
At level two, more damage to elite enemies and area of effect. So, if you're doing something with a lot of elite enemies, think Boss Brawl, go with that, and if you're doing something with a lot of horde, go with more area of effect.
And then level five is more damage to elite enemies or more area of effect? So, this one's pretty straightforward. If you're gonna be battling a boss or a lot of elite enemies, go with that. And if you're not, go with the area of effective enhancements.
Scrap Hammer
This is one where all of the levels of the forge impact the unevolved weapon. At level 1, you get pushback or projectile speed. I'm probably going to go projectile speed here. The thing spins real slow without it, and so it would probably be helpful to spin faster.
Next is Crippling Blows, to have a chance to slow enemies, and Stunning Blows, to have a chance to stun enemies. If you're getting slows from somewhere else in your build, like Mighty Borer, then you don't need crippling blows, and you can go for stunning blows. If you don't have slows elsewhere, then this is probably going to be a pretty decent chance.
At level 5, you can increase area by 20% and damage by 150% or gain a second scrap hammer. For this, you want to go Double Trouble and the additional Scrap Hammer. Hitting a horde with a Scrap Hammer is super important because it's so close to you that you want to try and hit as many as you can. You're not really looking for it to increase damage; you just want to make sure that you're hitting something to keep them off you.
Dynamite Slingshot
I've heard great things about this, but I don't have it. At level one, you can either do a chance to freeze or more area effect. I think we're going chance to freeze here.
At level two, you can increase damage to frozen and slowed enemies, or have explosions leave the enemy exposed. This is one of the only places in the whole game you can get exposed. This level two talent is phenomenal. If you have dynamite slingshot, you're going with that 99% of the time.
At level 5, Arctic Boom makes explosions leave behind a frozen area, or Sticky Dynamites explode three extra times. In Nightmare mode, I would go something like Arctic Boom for the additional slow and stuns, and for anything where you just want to do more damage, then just do multiple explosions for more dynamite.
Mighty Borer
A good rule of thumb is that if a forged choice sounds interesting, you should probably go with it. "Constant Rush" is my example of that. The Mighty Borer moves with a constant speed, removes acceleration, and increases damage by 300%. It's a lot of wording to say that's going to do some more damage to more horde.
At the next tier, Drilling Deep gives +3 penetration, so if you have to hit a lot of horde, you go this way, or 10% more damage if you want to hit fewer horde. All of the levels of the forge for Mighty Borer apply to the unevolved weapon, which is uncommon and very important.
Then at level 5, you have Mighty Borer returns home with Homeseeker, or the Mighty Borer now stuns enemies on hit and slows down on impact with Staggering Drill. You go Homeseeker to maximize your damage and you go Staggering Drill for more disruption again in something like Nightmare mode.
Lantern
At level one, you can either increase the lantern's spawn frequency by two seconds (Rapid Haunt) or reduce the lantern's travel speed by 25% (Crawling Light). You want to usually go for cooldown reduction, so we're going to go Rapid Haunt.
At the next level, Reflecting Lights is +4 penetration, which is nice. Or you can have a 2% chance to explode. 2% chance is not high, so we're going left again for Reflecting Light.
And then at level 5, the lantern can emit a 360-degree projectile burst, or enemies touched by the lantern light now receive continuous damage with Radiant Burn. This one might be a toss-up. I've read on forums that Radiant Burn is the preferred way to go. Lantern is one of these weapons that feels really bad before you forge it up, but at five-star forge, apparently it does a ton of damage.
Phantom's Fang
This guy is known for its ability to add the bleed status effect. If you don't have bleed in your kit, this is a really good source for it, particularly in something like Boss Brawl.
At level one, you get an increase to bleed damage or projectile speed. You want the increase to bleed damage against a single target and projectile speed where there are a lot of targets. The same logic applies at the next tier.
At level 5, Blood Infusion gives 1.3 times damage to bleeding enemies. 1.3 is a big multiple, so you're probably going with that. The other option is Decimate, where the fang gets stuck in a target for one second and then creates a bloody explosion. You're probably going to want to use Decimate in things with more horde, but this one also takes a second to release. You can usually clear horde in under a second, so I'm not sure that that effect would stack.
Smoke Bomb
I was so excited to get smoke bomb, and then I've just never used it. At level one, you have projectile speed or more damage. Projectile speed would get these things on the battlefield faster, or more damage would be better in single-target events.
At the next level, more damage or more area of effect. I would go Dense Smoke and more area effect; +50% is big, and they nerfed this a couple of patches ago.
At level 5, standing inside the smoke continuously generates 3% of max HP as a shield, which is fantastic for Dragon's Tower and Nightmare mode. Or there's Pulsing Smoke, which emits electricity shocks, also good for Nightmare mode and Dragon's Tower.
Smoke Bomb is one of the best weapons for those modes when it's fully forged at five stars. It's truly untakable at zero-star forge, as I know from personal experience.
Pitchfork
Pitchfork is a fun one. It does a ton of single-target damage. If you only need to hit one thing, Pitchfork's your guy. At level one, Wide Reach gives more area of effect, or Piercing Strike gives more damage. Piercing Strike is gonna be better against a single target.
At the next tier, Extra Tooth gives another projectile, or Sharp Tooth gives more damage. The way projectiles work for pitchfork is they all get rolled into its one visual. If you have under five physical projectiles, then Extra Tooth will do more damage. If you have more than five, then you just want the damage multiple. That's kind of how the math works.
At level 5, you get Thunder Pulse, which casts a small lightning shockwave every 0.75 seconds, or Storm Charge, which sends a shockwave on impact. You're gonna take something like Thunder Pulse for Boss Brawl and Storm Charge for something like Hard mode or Nightmare mode.
Candy Cane
We could basically ignore Candy Cane because you shouldn't be using this. It's the worst of the special weapons, unfortunately. It's like a really bad version of Scrap Hammer.
Snow Globe
The choices are area effect vs damage, cooldown vs area effect, and at level 5, it can get a chance to freeze or shoot icicles. I have only seen one top player use this, and I think he goes right for the icicles that shoot around him. Look at those fun little clouds. Happy little clouds.
Lotus Pike
Lotus Pike is known for doing a ton of damage. It's usually the weapon that people will evolve second in Boss Brawl.
At level one, more area effect or more projectiles. Probably going projectiles here most of the time. At the next tier, Precision gives +20% critical hit chance, and Heartseeker gives a +10% chance for a critical hit to deal four times damage. You'll always take that.
At level 5, you get True Strike, a 20% increased chance for four times damage. A 20% increase to four times damage will probably get you close to 100%, particularly late in the game, and that's why people take it for Boss Brawl, because you're just gonna be constantly hitting the boss for four times damage.
Cow Whistle
This one is a whole lot of fun. At level one, you get more damage or more area of effect. I would probably go damage.
At level two, you can get Herd for +2 projectiles, or Mad Cows for a 20% cooldown. This cooldown applies to the weapon itself, which is outside of the typical cooldown system. If you have six or more physical projectiles, I think you go Mad Cow 100% of the time.
At level 5, Queen's Command makes cows spawn from both sides of the screen, or Regal Presence makes the majesty emit an aura where all enemies caught within are permanently exposed by 20%.
Exposed causes enemies to take 20% more damage from all sources, which is basically a 20% damage buff across all your weapons. This is fantastic. This level 5 forge is worth rushing for the exposed addition. It is giant.
Iron Yo-Yo
The big thing with Iron Yo-Yo is it has a chance to stun horde built into the weapon. At level one, you have more area of effect or damage to stunned enemies. I think damage to stunned is the way to go.
At the next level, you get more damage to stunned, or more damage. The chance to stun is only a certain percentage, whereas the other is a constant 1.1x damage. If you're stunning horde from other sources, maybe with Stormborn, then you want to go Fast Rewind.
At level 5, there's an interesting choice: the returning yo-yo deals 500% increased damage, or the thread of the yo-yo charges with lightning dealing 100% damage per second on contact. I don't know which one of these is better yet; this literally came out like five days ago. I would go with whichever one you test out and think is better for yourselves.

Special Weapons Summary
And that's it.
That is all 14 special weapons now in Heroes vs. Horde.
Again, I hope it gave you the mental model to think about the trade-offs between nightmare mode, hard mode, and normal mode, and something like Hero Clash or Dragon's Tower, and lets you choose which forge options is the best for you, given your situation.

Special Weapons Changelog
July 28, 2025: Fixed typos for Mighty Borer. Thanks @felly for showing me the money.
July 7, 2025: Fixed typos. Added Snow Globe.